Friday 17 January 2014

Window cover-up thingy

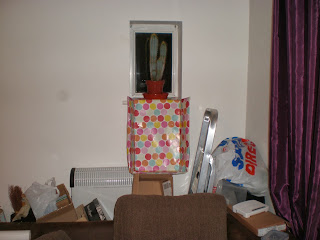
This window upsets me. I like to be able to close a curtain / blind over my windows when I want to. I don't have either of those things fitted here. And my lease says I'm not allowed to fit things to the wall :'(


So I've found this cardboard box, seems about the right size.


I cut down the edges of it to open it up. The two smaller pieces are still attached by tape. First I remove them.


Then I put the bigger part of the box in the window to measure up for size, and tape one of the end pieces onto it in the right place.


The other end piece will be the bottom of my thing. I tape it in place so that the fold in the card lines up with the bottom of the box.


Now I want to make it box shaped again. I find another piece of card. I fold it in half both ways and cut a slit halfway across the shorter line.


I fold the whole thing together liker so, and I cut off the excess. I use it (and some more tape) to support the edge of the box.


I make a mirror corner and tape the other edge to that. Then I tape the top of the box.


Notice how I've left the bottom part loose? That's part of the plan. Just need to trim the edge off that.


Now, if we put the bottom flap on the windowsill, and sit Montgomery on top of it, the thing will stay put. Then to close it, I just have to fold it upwards. Voila!


Yay! Now nobody can see in if I don't want them to and I won't get glare on the TV anymore :) So it works, but it's not very pretty. You know how I like things to be pretty, right?

I'll wrap the thing up in pretty coloured paper.
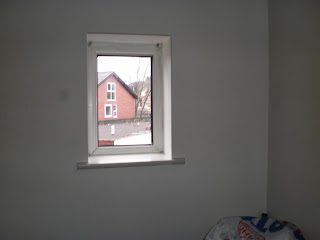

And here it is finished.


Yay, privacy!

Sunday 5 January 2014

The Masquerade Ball

It was my work's Christmas Party a few weeks ago, and the theme was Masquerade Ball. So I had to make a mask. I'm really pleased with this. Fliss gave me this picture as inspiration.


So I bought a cheap mask and took off the decoration it came with. 

 
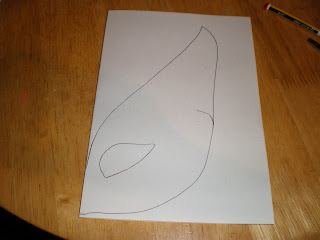
Then I set about making a template for a butterfly to stick on top. I tested it by taping the paper to the mask and trying it on to see if it looked right.


<

It took me a lot of tries to work out the best shape for it. In the end, I put the mask on top of the paper and drew around the edge of it as a guide, then I drew the top of the wing.


When I eventually had shapes I was happy with, I taped the card onto a piece of foam, which was folded in half, and I cut them out. Taping it all together was a brilliant idea - it made it much easier to cut accurately. Stabbing the thing with a pair of scissors to make the eye hole was a less brilliant idea - nearly five weeks later I can still make out the cut on my finger.

Two days later (after I'd stopped bleeding) I glued this lovely fabric onto the shapes with a standard all-purpose glue, making sure that all the glue was at the back of the mask.

Then I went through my craft drawer and found some bits to decorate it, including the original decoration that came with the mask. I played around with some designs then drew on it with felt pens and glued on my shapes.


After that, it was time to fix something quite annoying about the mask. It came with a ribbon attached to tie around your head. This is stupid because you end up tying your hair in knots. So I tied the ribbon onto a head band (not my idea, but fantastic).


It was time to cut the eye holes out of the fabric. I cut a slit down the middle (carefully this time - with a craft knife). Then I had to glue the wings onto the mask. Taking no chances here, I used superglue. And I pushed the excess fabric through the eye holes, supergluing down at the back.


Finally, my butterfly needed a bug. I cut this shape out of felt (or something very like felt but cheaper) and I glued it in place. For the antennae, I cut a pipe cleaner in half and superglued the pieces in behind the bug's head.


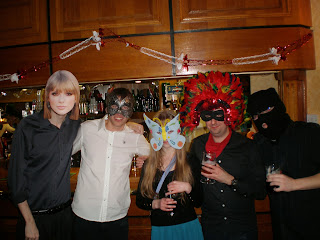
And then I went to the party, with loads of people in masks.