Monday 29 September 2014

Hanging Basket

My house came with a hanging basket in the porch. That's silly because it's sheltered from the sun and the rain. Let's face facts; I'm not going to remember to water any plants I put in there. So I'm not putting plants in it.


I thought I could put in some artificial flowers but James gave me the idea that I could make any kind of display out of anything. Oooh the possibilities!! So I will probably redesign this thing a few times - I already have ideas for Halloween and Christmas.

Anywho... for my first hanging basket design I decided to go with an 'under the sea' theme.

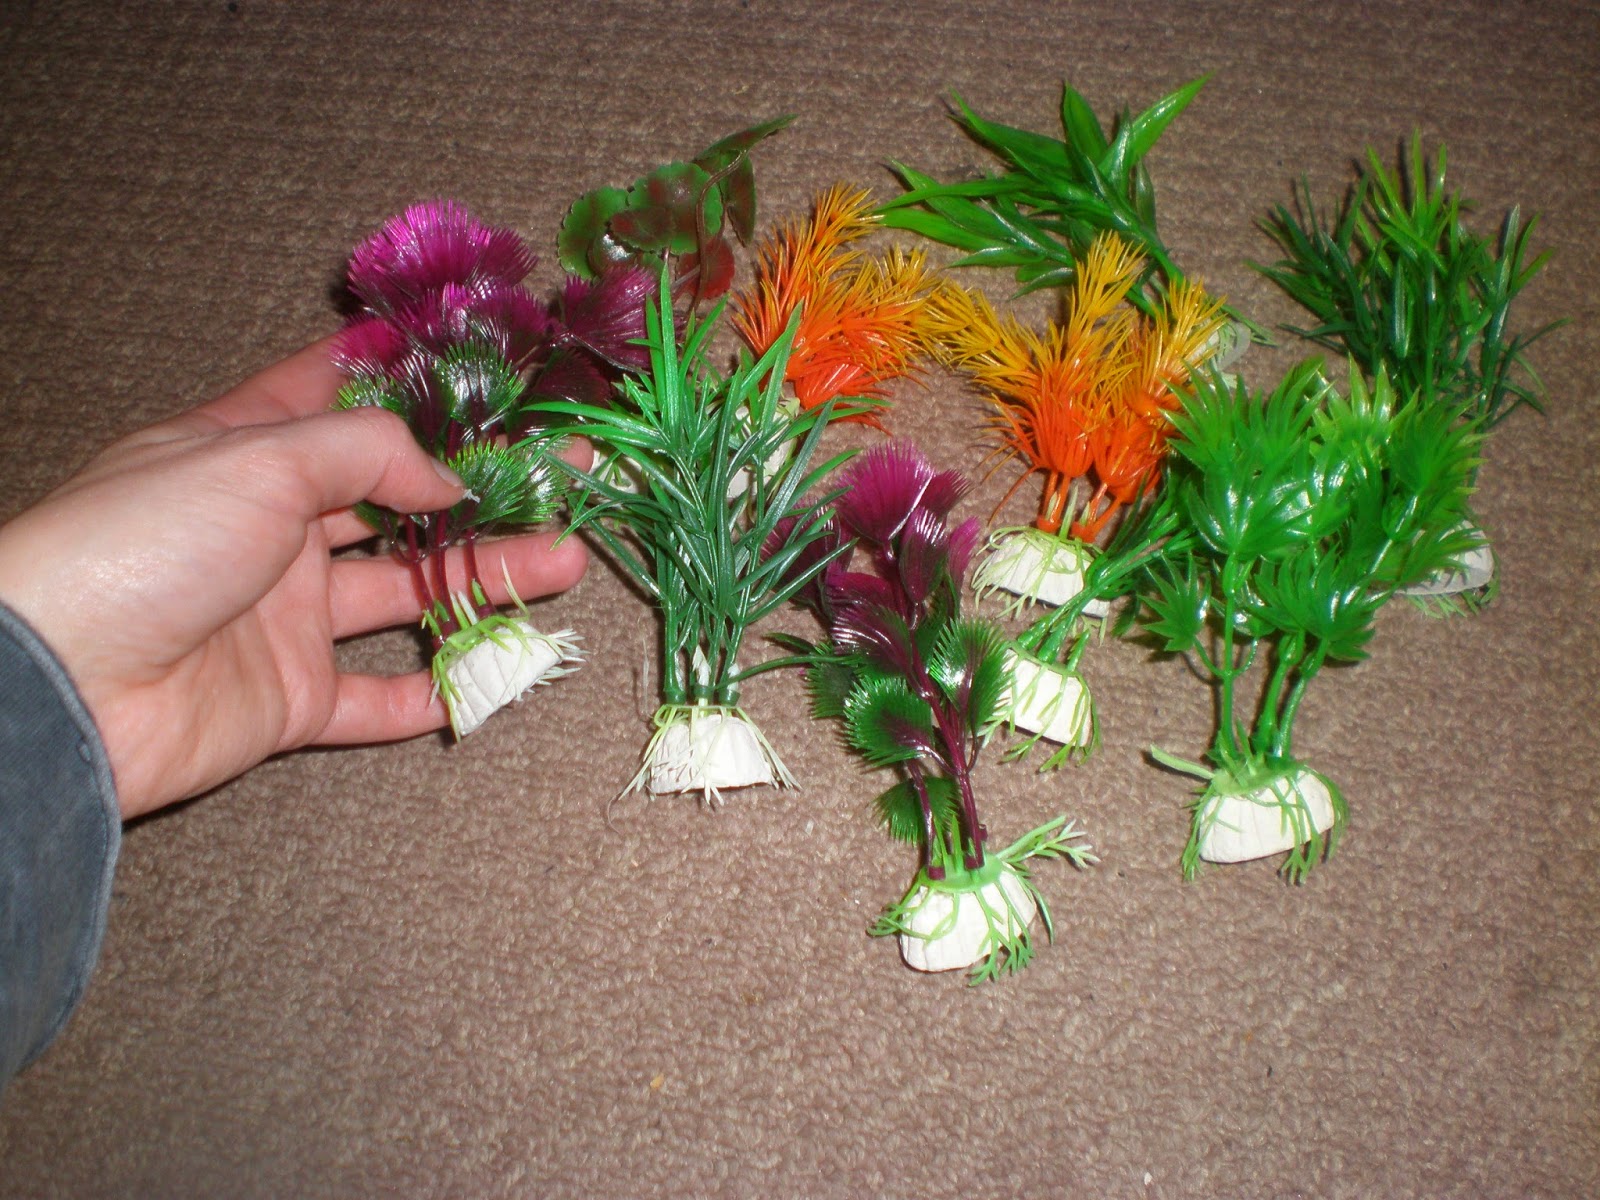
I bought these things from Amazon. I've learned how to make my pictures into links just so you can find these things if you want to.

http://www.amazon.co.uk/gp/product/B006JB5PF4/ref=oh_aui_detailpage_o01_s00?ie=UTF8&psc=1 http://www.amazon.co.uk/gp/product/B00KIJ19ZS/ref=oh_aui_detailpage_o02_s00?ie=UTF8&psc=1

http://www.amazon.co.uk/gp/product/B009ZUPOPW/ref=oh_aui_detailpage_o03_s00?ie=UTF8&psc=1

When James took the basket down for me (I couldn't reach) we found a plant that had somehow survived in there. I put it into a cottage cheese pot that was bound for the recycling. All the other stuff in the basket just got dumped into the garden, except I kept the lining bit.


I layered my fake seaweed in the cage and put the straw thingy in, wrapped in green tissue paper. But I didn't like it. The stones on the seaweed look all wrong and the tissue paper doesn't look like the sea.


I considered painting the straw thing in shades of blue and green (which I'm sure wouldn've looked pretty cool) but then I saw this wool in Wilko and I thought 'it looks like the sea' so I bought it and I wrapped the wool round and round the lining. Luckily I had quite a bit of wool left for later.


I pulled the seaweeds out of their stones and put them back in their cage. Then I carefully put the cage onto the other bit.


Next I had to do the hanging pieces. I was going to hang the shells and fishes from the basket using clear plastic beading thread, but I couldn't find any in the shops that day so I used my leftover wool instead.

The seashells come with holes pierced in them, but the holes weren't big enough to thread my wool straight through and I didn't have a big enough needle or a needle threader :(

Then I saw this guy. The container originally held Lucius, my littlest cactus, but after he outgrew his vial James decided to put a tiny soldier in there.


Anyway I took the stringy bit off the top and used it like a needle threader to pull the wool through the holes. If that doesn't make any sense look at the pictures. I tied a knot in the ends of my wools. I didn't tie any more knots, even on the ones that have more than one shell on them because I didn't think the shells were likely to fall.


Then I had to do the fish. This was a bit harder because not only did they not come with holes in them, they didn't want to have holes in them either. Whenever I removed whatever implement I'd used to make a hole, it started to close up.

I got the hang of it eventually. I stabbed a hole with a drawing pin, waited a few minutes, then removed the pin and replaced it with a nail to make the hole bigger. A few minutes after that I took out the nail and shoved my 'needle threader' through, then pulled the wool through it quickly. It would've been much more fun if I hadn't stabbed myself with a nail in the process.


To fix all my hanging things in place, I wrapped the stones from my seaweed in a piece of the aforementioned tissue paper. I taped all my strings to the paper then I put the parcel inside the basket and arranged my strings around the outside.


So far so good. I clipped the chains back onto the thing, but it didn't quite look finished. I found this white boa type thing and thought it would be perfect for the foam on top of my sea so I threaded it through the hooks on the chains.


Now it looks finished. And in my opinion, this hanging basket really stands out on our street.


Monday 18 August 2014

Castle Smethansmee

As promised, I hereby present the project I've been working on for the past few weeks. It's a two and a half foot castle made using paper mache.

I have named it after myself, egotist that I am. Behold, Castle Smethansmee :


I started with a big cardboard box and some egg boxes. I cut up the egg boxes to make crenellations (AKA knobbly bits) and taped them around the top of my castle.


Next I made turrets from rolls of newspaper, and the roofs from cones of newspaper.


I paper mache'd the whole thing with kitchen paper - mainly because I wanted the castle to have a stoney texture to it; newspaper is a bit smooth.


Then I painted it grey. I mixed the black and white paints on the walls of the castle because I didn't want it to have a flat colour.


Next I made the door. I cut door shapes from card and drew an outline on them. Then I glued them in place on my castle.


I used this glue, which is supposed to dry with a shiney, protective finish that won't get gummy if it gets wet again. This would be useful as I intend to put the castle in the living room and it will most likely have cups of tea put on it every day.


I cut some squareish shapes out of various fabrics in my scrap box, and glued them down to look like bricks around my doorway. Next I drew the windows with a black felt tipped pen.


Time to lay the rest of the brickwork. I did the walls first, starting at the top and working my way down.


After that I did the top of the box, then the turrets.


When all the bricks were laid, I set to work fastening my box. I had left one side of the box openable because boxes are much more useful when you can get inside. I made three holes in one door by hammering a nail through, and I fixed a paper fastener into each hole.


I made three corresponding holes in the other door and threaded an elastic band through each. I secured the bands in place using a piece of folded card.


The elastic bands hook over the paper fasteners to secure the doors.


Finally, I had to finish the roofs for my turrets. Originally, I was going to cover them in bricks like the rest of the castle but frankly, I was sick of laying bricks.

Anyway, I looked on Google Images and concluded that they should look different from the rest of the castle. So I painted them purple to match the door, and I did them in varying shades by mixing blue and red paint directly on the surface I was painting.


After they had dried I noted two problems. One, I hadn't painted them very well (meaning not enough purple). Two, the colour was too dark. So I added white into the mix for a second coat.


Once dry, I glued the roofs to their turrets and painted them with a layer of the glue for a shiny finish.

And here is the finished product in its prided place.