Showing posts with label customise. Show all posts

Saturday, 14 March 2015

Spring time hanging basket

It's time to redesign the basket that hangs outside the front door with a spring theme because it's spring now.

First I went out for supplies. I got the Easter Grass from The Works (£1), the butterflies from Pound World, and the eggs and chicks from 99p stores.


First I lined the basket with the Easter Grass. It came in a big clump so I didn't pull it apart too much, that way it should stay put. Then I shoved some little chicks' feet into the green stuff. I twisted them around to get the feet entwined.


Next I took the butterflies and found out they were on bits of wire, which is lucky. I fixed the wire in place by just pushing the end through the greenery and folding it over.


The eggs are some sort of polystyrene / foam type thing, so it's pretty easy to get a needle through them. I used green cotton thread to tie them in place.


Ok, it looks pretty cool and Springy, but it doesn't look finished.


I think for once I'll have to put some flowers in here. Fake flowers, mind. So I went back to the 99p store and found these. I made stems for them by colouring in some cocktail sticks with a felt tip pen and glueing them in place.


Then I dipped the stems in glue and shoved them into the basket greenery.


Only one thing left to do - hang it up.


Friday, 20 February 2015

Lampshade makeovers

See this light. See what's wrong with it? Now, consider the fact that we've lived in this house for seven months. Still not finished getting the place sorted, obviously, hence no light-shade.


But we struck some luck the other day. We found these, just outside on the street. Someone had obviously left them out for the bin men, who neglected to take them. So we did.


Once we got them inside and looked at them, we figured out why they'd been thrown away. Not having a clue how to clean them, I decided to tear the covers off and re-cover them myself.


For the first one I took out my fabric scraps and I selected this blue stuff. It's quite a dark colour, but it's shiny too, and thin so it won't be too shadowy.


I made a pattern on some baking paper by tracing around one of the segments in my frame. If you're going to copy me on this, you want to trace on the outside of the section, not inside it, so you can wrap the pieces around the wire.


I pinned my pattern to the fabric and cut out a piece for each section in the frame.


Then I got some all purpose glue and stuck the pieces in place. I did four alternating ones first, and glued them around the wire.


Then I did the other four so they were folded at the outside edge (to make it look neat).


I glued the bottom edge last and it turned out I hadn't quite cut my pieces big enough so parts of the frame were still showing at the bottom.


No matter, I've found something to cover it up with.


For my second shade I wanted to do something different. I did a little Internet hunt for ideas and came across this (picture is a link). It's quite an interesting technique using starch, which means you can make multiple shades from one mould.


I didn't follow their tutorial though; I just thought I could stretch something over my frame and glue it in place, so I set out to find something that would look pretty when stretched. I found this lovely scarf in the 99p store. It's one of those that's like a tunnel, which is why I chose it.


I put the tunnel scarf over my frame like so, and glued it to the bottom of the frame.


Once that had dried (about ten minutes) I stretched the scarf upwards as much as I could and I snipped the top off. Then I glued it around the top of the frame.


After that had dried I trimmed it a little closer and glued it again to make it neat.

Voila! Two brand new lampshades.


Monday, 29 September 2014

Hanging Basket

My house came with a hanging basket in the porch. That's silly because it's sheltered from the sun and the rain. Let's face facts; I'm not going to remember to water any plants I put in there. So I'm not putting plants in it.


I thought I could put in some artificial flowers but James gave me the idea that I could make any kind of display out of anything. Oooh the possibilities!! So I will probably redesign this thing a few times - I already have ideas for Halloween and Christmas.

Anywho... for my first hanging basket design I decided to go with an 'under the sea' theme.

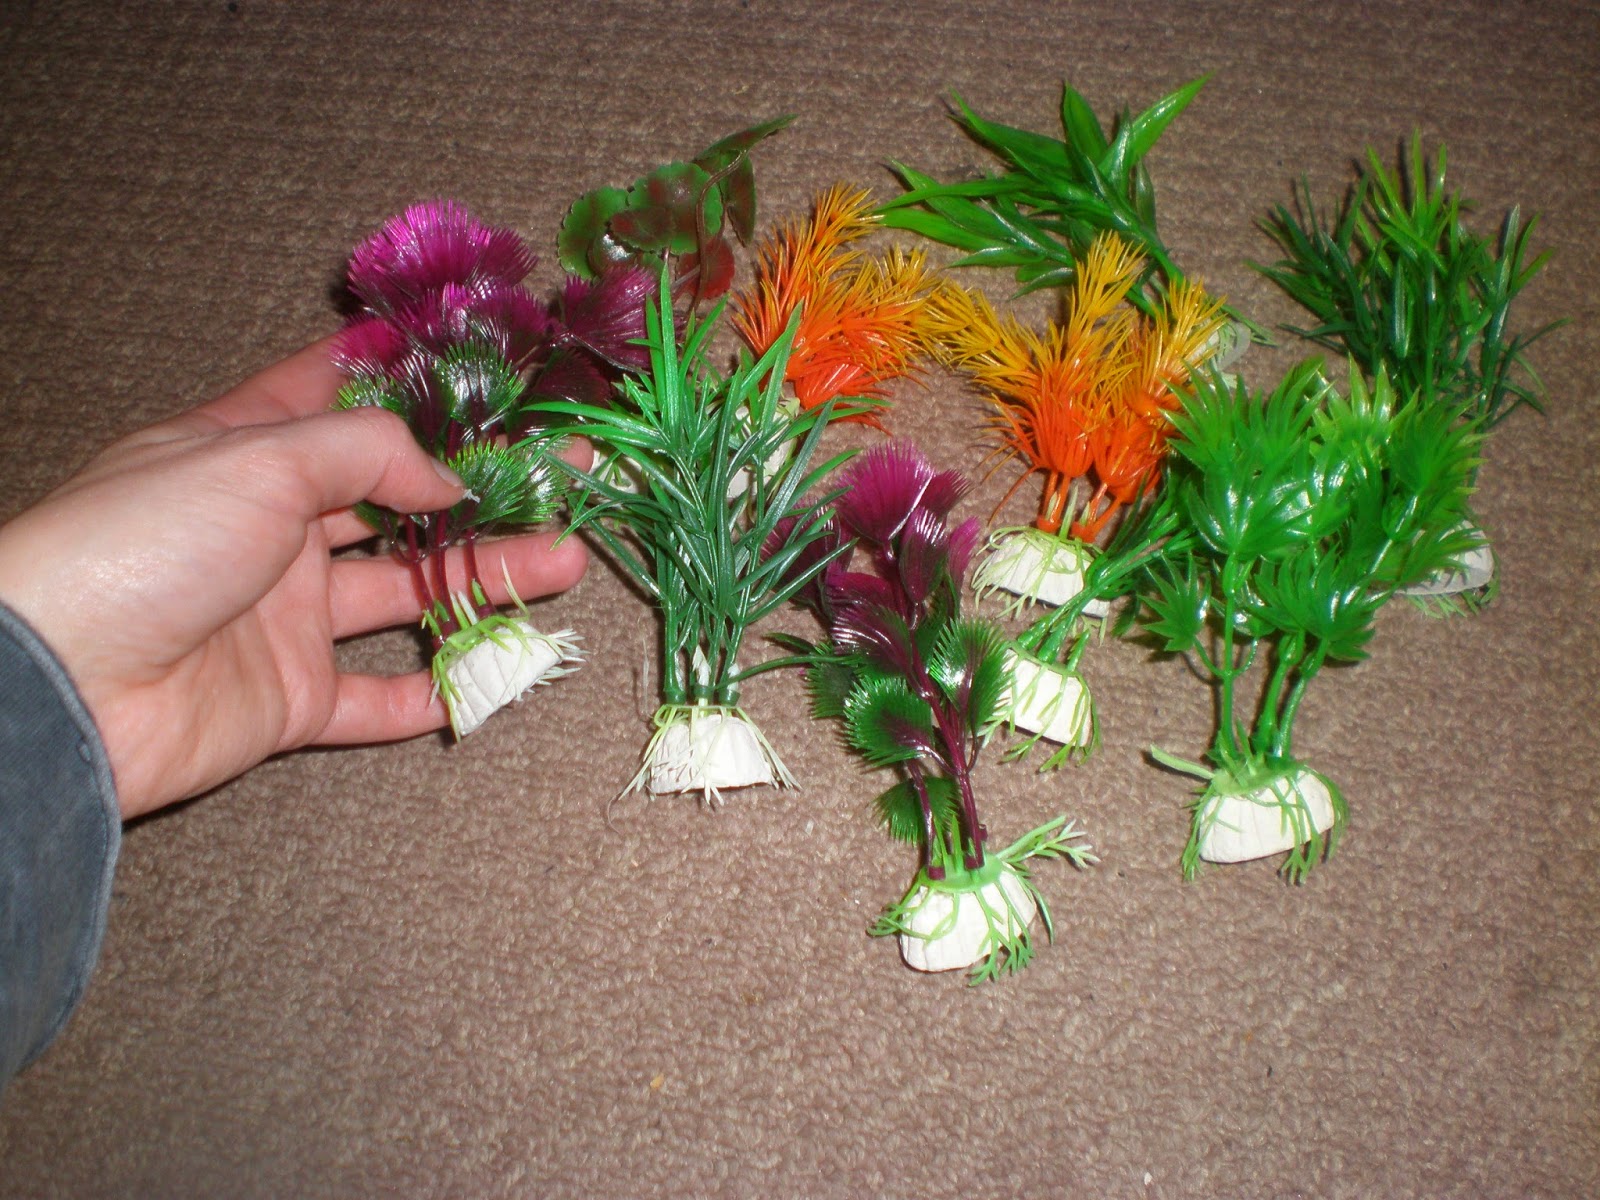
I bought these things from Amazon. I've learned how to make my pictures into links just so you can find these things if you want to.

http://www.amazon.co.uk/gp/product/B006JB5PF4/ref=oh_aui_detailpage_o01_s00?ie=UTF8&psc=1 http://www.amazon.co.uk/gp/product/B00KIJ19ZS/ref=oh_aui_detailpage_o02_s00?ie=UTF8&psc=1

http://www.amazon.co.uk/gp/product/B009ZUPOPW/ref=oh_aui_detailpage_o03_s00?ie=UTF8&psc=1

When James took the basket down for me (I couldn't reach) we found a plant that had somehow survived in there. I put it into a cottage cheese pot that was bound for the recycling. All the other stuff in the basket just got dumped into the garden, except I kept the lining bit.


I layered my fake seaweed in the cage and put the straw thingy in, wrapped in green tissue paper. But I didn't like it. The stones on the seaweed look all wrong and the tissue paper doesn't look like the sea.


I considered painting the straw thing in shades of blue and green (which I'm sure wouldn've looked pretty cool) but then I saw this wool in Wilko and I thought 'it looks like the sea' so I bought it and I wrapped the wool round and round the lining. Luckily I had quite a bit of wool left for later.


I pulled the seaweeds out of their stones and put them back in their cage. Then I carefully put the cage onto the other bit.


Next I had to do the hanging pieces. I was going to hang the shells and fishes from the basket using clear plastic beading thread, but I couldn't find any in the shops that day so I used my leftover wool instead.

The seashells come with holes pierced in them, but the holes weren't big enough to thread my wool straight through and I didn't have a big enough needle or a needle threader :(

Then I saw this guy. The container originally held Lucius, my littlest cactus, but after he outgrew his vial James decided to put a tiny soldier in there.


Anyway I took the stringy bit off the top and used it like a needle threader to pull the wool through the holes. If that doesn't make any sense look at the pictures. I tied a knot in the ends of my wools. I didn't tie any more knots, even on the ones that have more than one shell on them because I didn't think the shells were likely to fall.


Then I had to do the fish. This was a bit harder because not only did they not come with holes in them, they didn't want to have holes in them either. Whenever I removed whatever implement I'd used to make a hole, it started to close up.

I got the hang of it eventually. I stabbed a hole with a drawing pin, waited a few minutes, then removed the pin and replaced it with a nail to make the hole bigger. A few minutes after that I took out the nail and shoved my 'needle threader' through, then pulled the wool through it quickly. It would've been much more fun if I hadn't stabbed myself with a nail in the process.


To fix all my hanging things in place, I wrapped the stones from my seaweed in a piece of the aforementioned tissue paper. I taped all my strings to the paper then I put the parcel inside the basket and arranged my strings around the outside.


So far so good. I clipped the chains back onto the thing, but it didn't quite look finished. I found this white boa type thing and thought it would be perfect for the foam on top of my sea so I threaded it through the hooks on the chains.


Now it looks finished. And in my opinion, this hanging basket really stands out on our street.